Editing Map Data with AI Detections

Here's a step-by-step example for using Mapillary AI detections for map editing, based on the video tutorial by Mapillary Ambassador Nuno.
Recently, we released the AI detections feature that lets you visualise and search for everything that our technology has automatically detected in Mapillary images. We're happy to see that it has already proven useful for obtaining visual data for map editing.
I would like to share an example from our Ambassador Nuno Caldeira, who has made a short video demonstrating how he's adding zebra crossings to OpenStreetMap with help of AI detections. You'll find a step-by-step written summary below.
Mapillary's traffic sign detections have been available for map editing for a while, and for OpenStreetMap they're available as a layer in JOSM and the iD editor. Although there are not yet similar layers in these tools for other detected objects, having more detections available on the Mapillary web can help you identify more features to map.
Problem at hand: sometimes there are zebra crossings that don't have a traffic sign, or the traffic sign isn't visible in the image (like in the example below). Solution: use Mapillary AI detections to find such places and put them on the map.
Here's how:
1. Activate traffic signs on the Mapillary web viewer (from the Filter button at the top).
2. Turn on the AI detections (from the AI detections button at the top).
3. Filter for zebra crossings by typing and choosing Crosswalk--zebra in the search box in the AI detections menu.
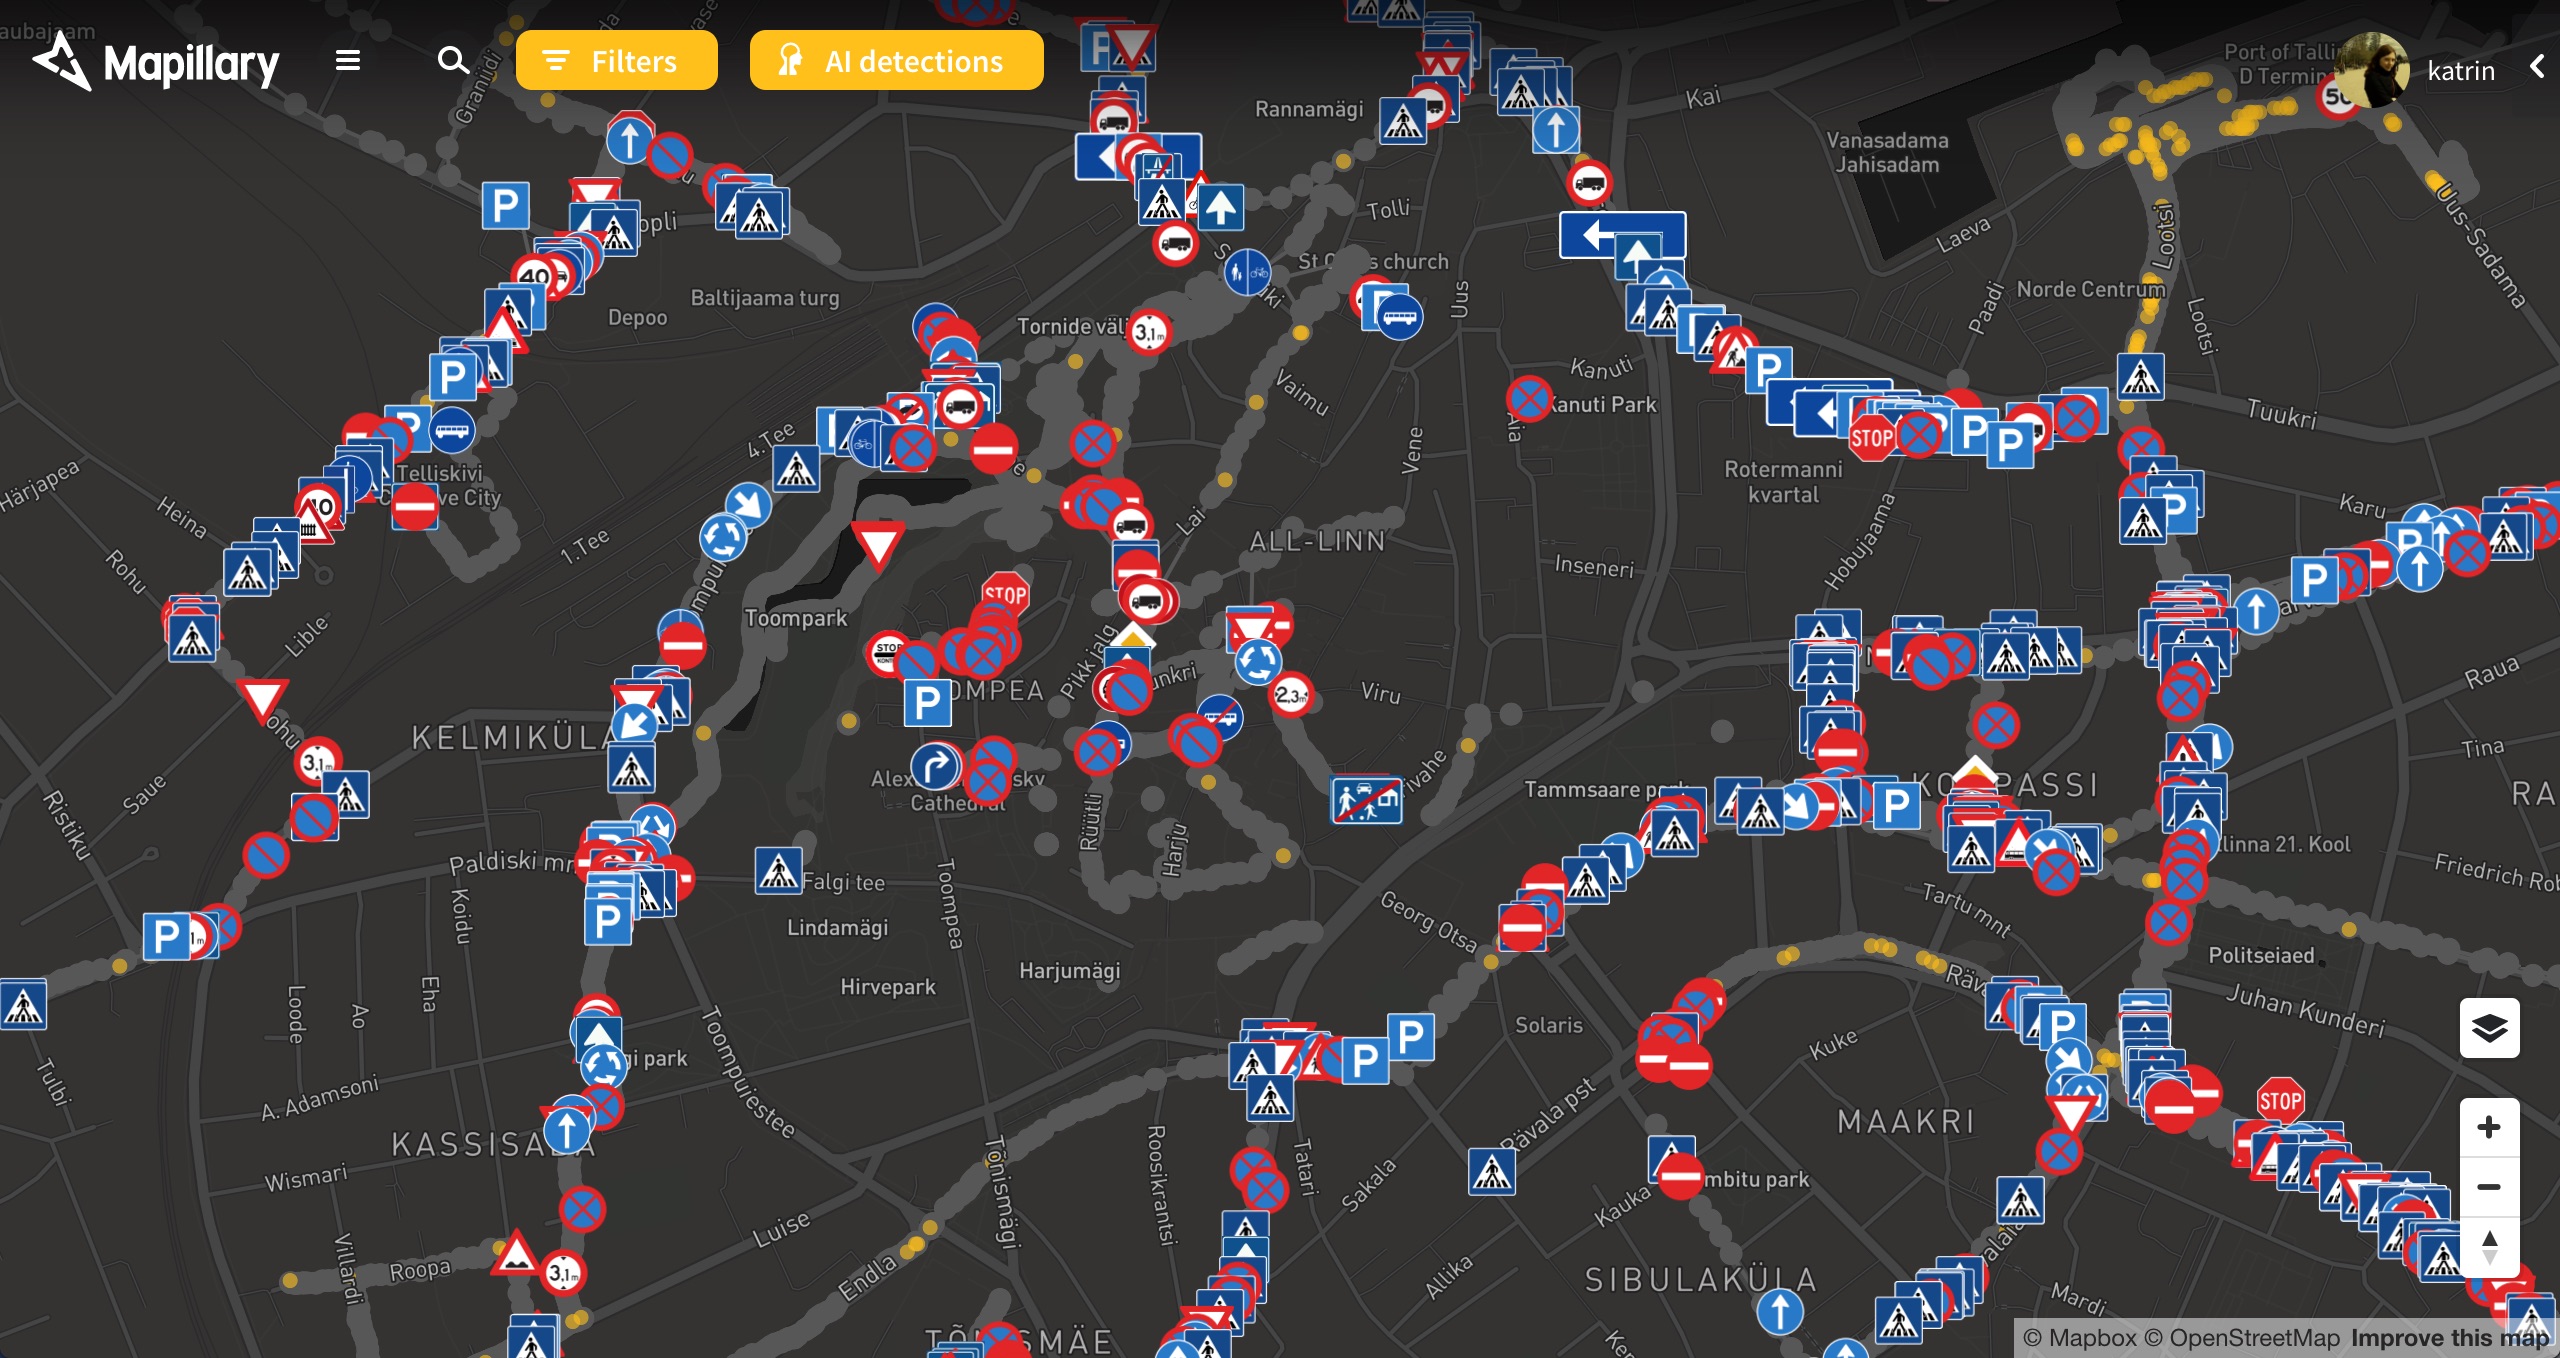 4. Look out for yellow dots on the map—these represent detected zebra crossings—that don't have an accompanying crosswalk traffic sign detected.
5. Click on the yellow dot to open the image where the zebra crossing has been detected. You can see that there is no traffic sign next to it.
4. Look out for yellow dots on the map—these represent detected zebra crossings—that don't have an accompanying crosswalk traffic sign detected.
5. Click on the yellow dot to open the image where the zebra crossing has been detected. You can see that there is no traffic sign next to it.
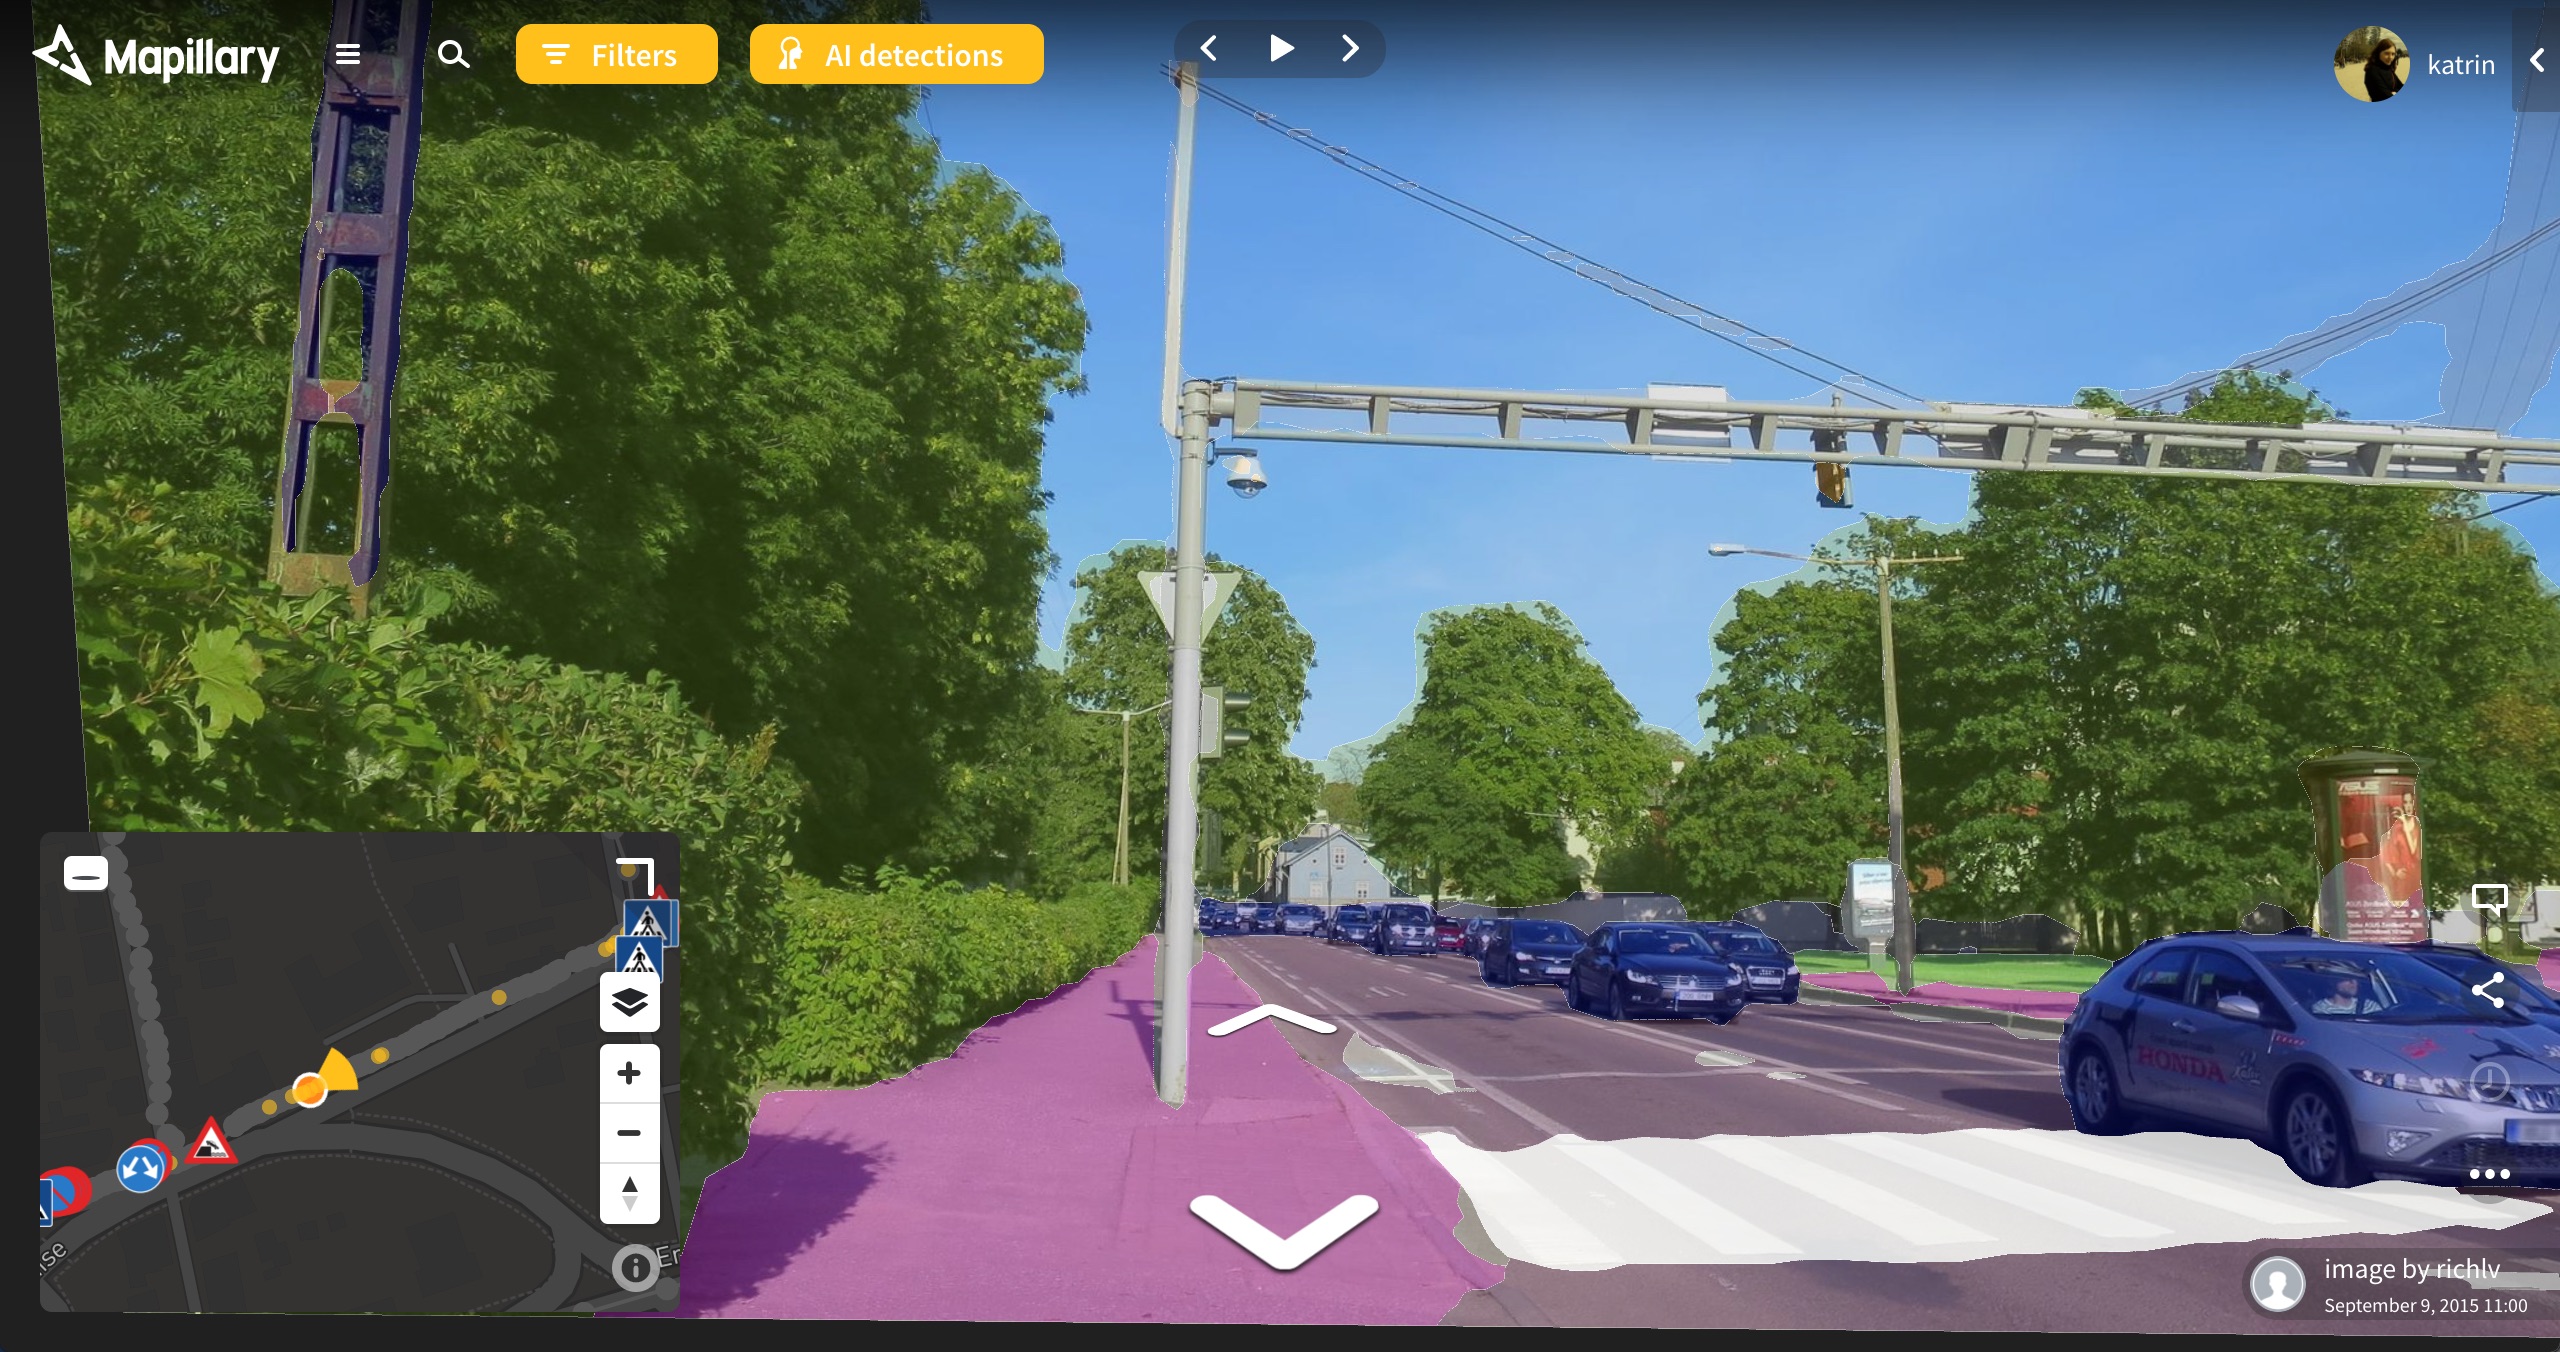 6. Click on the three dots (...) icon on the right of the screen, choose
 Advanced options, and Edit via iD. This will take you to the OpenStreetMap website (log in if you're not already).
7. Choose the Map data icon on the right-hand side and activate Photo overlay (Mapillary) to check for the location of the crosswalk.
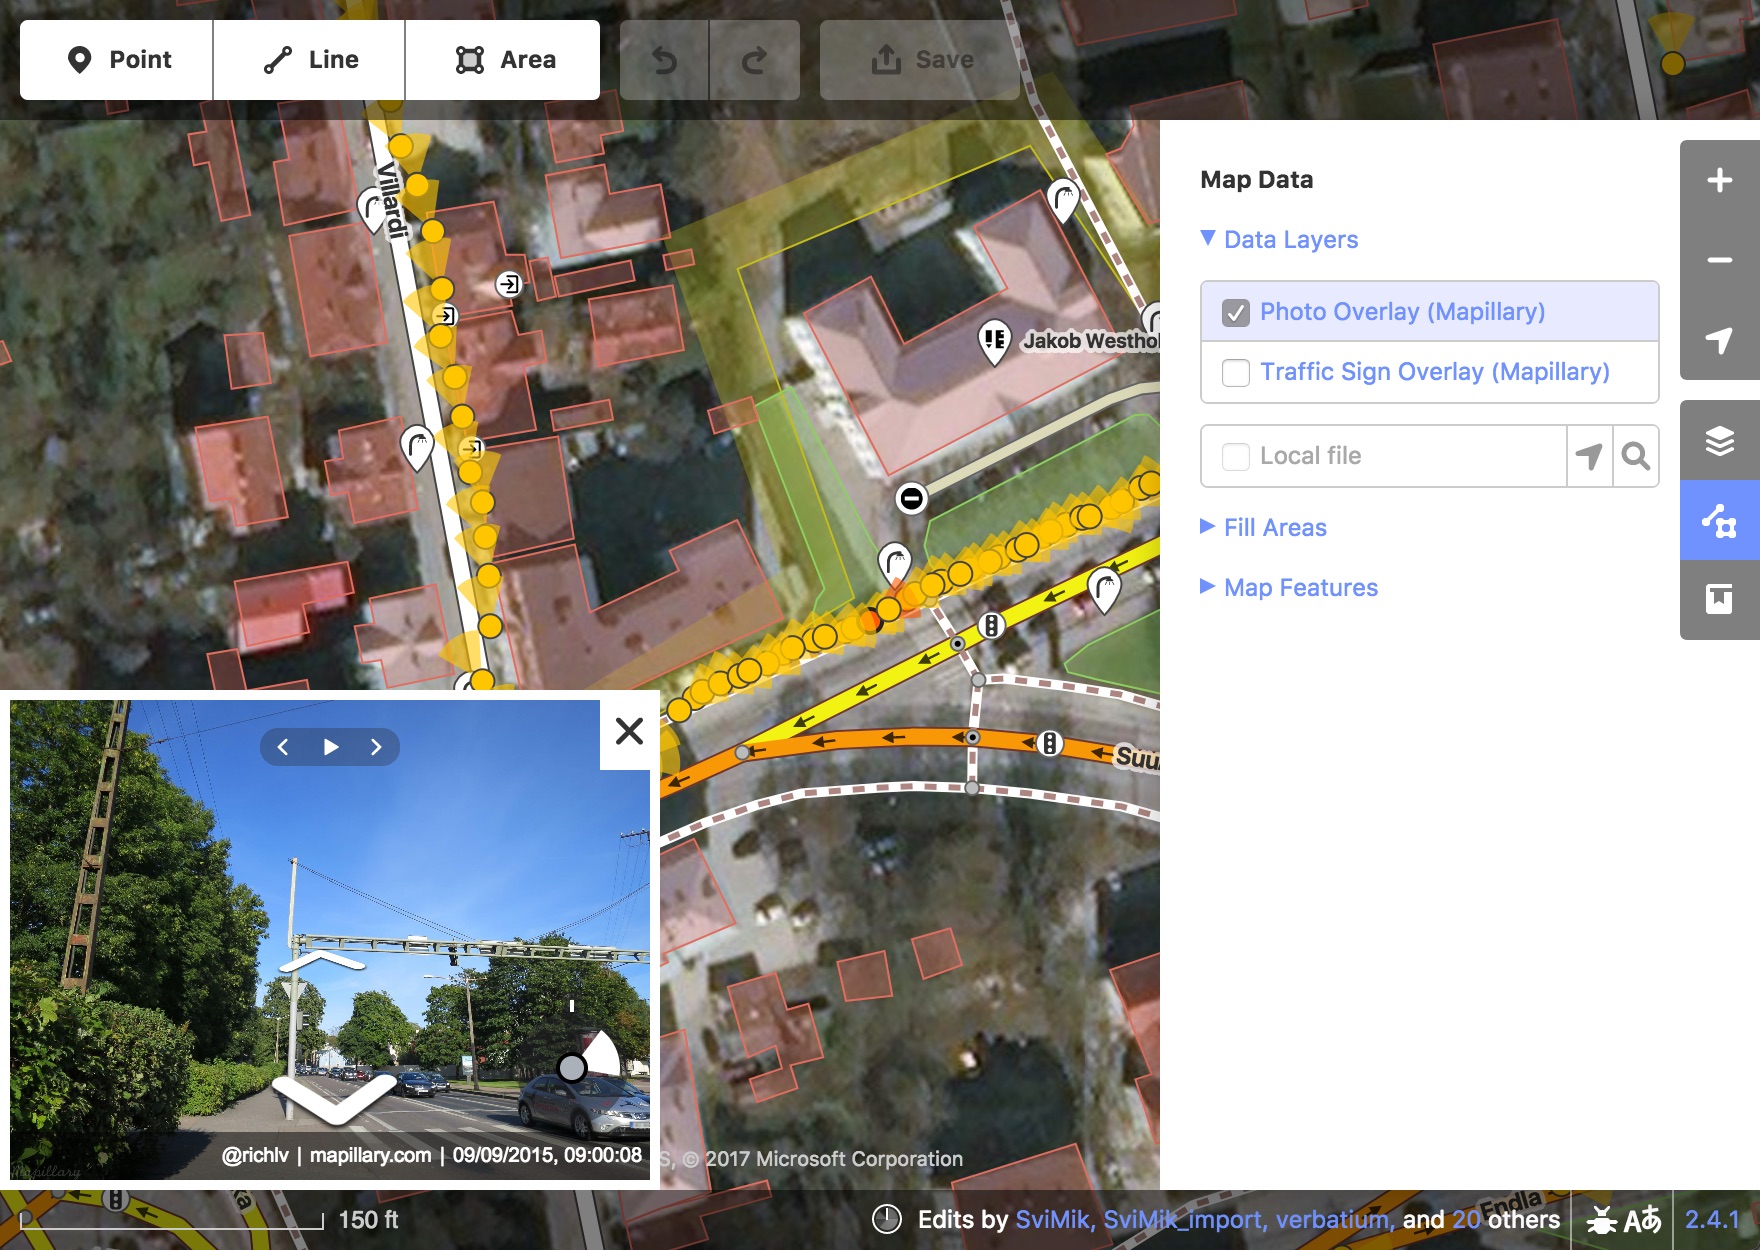 8. Create a new node on the highway for
 Pedestrian crosswalk.
9. Save your changeset (and add a tag for using Mapillary imagery).
And there you have it! If you have your own examples for using AI detections for map editing, don't hesitate to share.
/Katrin